Home / Stepped Gates on a Slope
Stepped Gates on a Slope
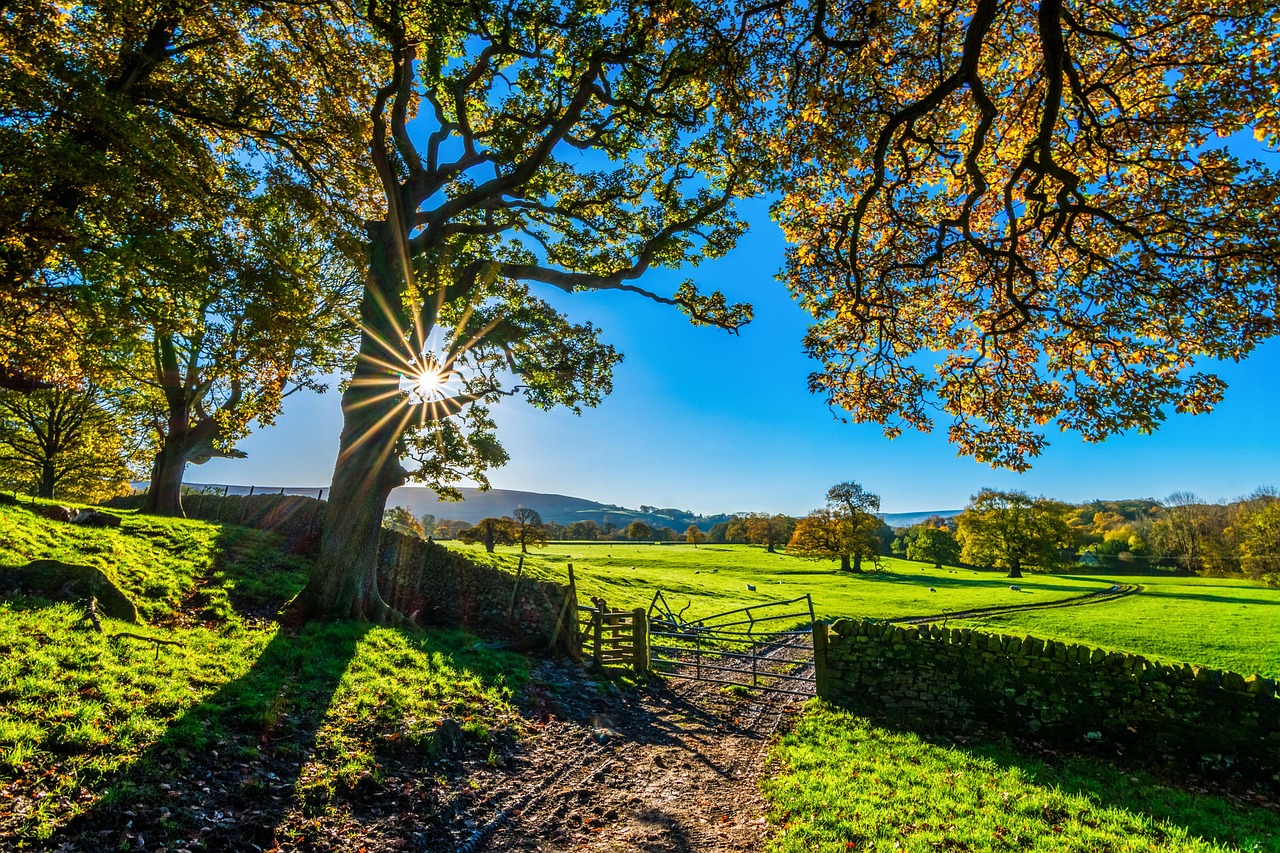
A stepped gate follows a slope by dropping its bottom rail in level sections, so the gate keeps a constant height above the ground while its top stays level or steps with the grade. It is a clean, practical answer for driveways and walkways that rise or fall, and it avoids the ugly wedge shaped gaps a flat bottom leaves on a hill.
Hillside lots are common in and around Georgetown, where the land rolls toward the river and the lake. A gate that is perfectly square looks wrong on a sloped drive, and it also fails to do its job, since gaps open up at one end. Stepping the frame, or choosing a design that follows the ground, fixes both the look and the function.
What stepping means
On a stepped gate, the bottom rail is not one straight bar. It is built in short, level sections, each lower or higher than the last, like a staircase. The pickets or bars are cut to fit, so each one ends close to the ground below it. From the street, the gate looks like it follows the slope in clean, deliberate steps.
The top of the gate can step as well, so the whole frame descends with the ground. This looks natural on a fence that runs along a hillside. Or the top can stay level while only the bottom steps, which gives a formal look and a clear line against the sky. Choose the approach that matches the fence on each side.
Measure before you design
Stretch a level string across the opening and measure the drop from the string to the ground at several points. Note the total change in height from one post to the other. A drop of a few inches can be handled with a gentle diagonal bottom rail. A drop of a foot or more calls for steps or a different design.
Measure the ground along the swing path too. A gate that opens over rising ground may strike it, and one that opens over falling ground leaves a gap. Write down all measurements and give them to the fabricator, along with photographs. A good plan starts with good numbers.
Step height and spacing
Each step should be small enough to look smooth and large enough to matter. A step of two to four inches is common. Larger steps look bold and can be fine on steep slopes, though they need strong framing. The width of each step usually matches a whole number of pickets, so that every picket ends cleanly at its step.
Keep the gap under the gate consistent, usually two to three inches, so that the stepped bottom looks even. If animals are a concern, a small lower panel with narrow spacing blocks escape. For a pool gate, follow the code for maximum gap beneath the barrier.
Swing and clearance
A stepped bottom helps with ground clearance, but a swing gate on a slope still needs thought. As the gate opens over rising ground, the low side may hit. One fix is rising hinges, which lift the gate gently as it swings. Another is to design the gate so that it opens toward the downhill side, where there is more room. A third is to grade the ground under the swing path, so it is clear.
Check the full arc, not just the closed position. Open the gate slowly in a mock up, or sweep a string along the path, and note any contact points. A little work now prevents a gate that scrapes every day.
Sliding gates on a slope
Sliding gates can follow a gentle slope, but the track or the wheels must stay level. A common approach is a cantilever slider, hung from rollers on the posts, which leaves the ground clear. The gate runs parallel to the fence line, so its bottom can step to follow the ground while the rollers stay level.
If a track is used, build it on a concrete bed set to the right grade. Keep it clean, since leaves and gravel stop a slider quickly. On a slope, water runs along the track, so include a drain.
Frame strength
A stepped frame has more joints and corners, and each one must be strong. Welded joints should be full and clean, and the frame needs diagonal bracing or a heavier tube to resist twisting. Wide stepped gates benefit from a middle upright and a support wheel at the free end.
Posts matter even more on a slope. The downhill post carries more load, since the gate leans slightly with the slope. Set it deeper or wider, and check the ground. On rocky ground, drill and anchor into the stone. On soft ground, widen the footing.
Appearance and finish
Stepped gates have a handmade look that suits older homes and rustic settings. The finish should match the fence and the house. Black, dark bronze and deep green are classic. A powder coat gives lasting color, and a touch up kit handles small chips.
Consistency is the key to looking good. Keep step heights even, pickets aligned and spacing uniform. Make sure the top rail is straight or follows a smooth line. A neat gate on a slope looks like a feature of the land, not an obstacle.
Upkeep on uneven ground
Stepped gates collect leaves, soil and gravel in the corners of each step, so a quick sweep along the bottom rail a few times a year keeps water from sitting there. Check each weld and bolt after heavy rain, since a slope sends runoff past the gate with some force. Touch up chips in the finish at once, because the lower corners stay damp longest and rust first. A little care of this kind keeps the steps crisp and the swing true for many years.
Common problems
Gates that look crooked usually have steps that do not match the slope. Gates that rub have too little clearance or posts that have shifted. Gates that sag have weak frames or hinges. Gaps that let pets through come from steps that are too tall. Each of these is easy to avoid with careful measuring, a strong frame and good posts.
A stepped gate is a small piece of craft that solves a real problem. It keeps the gap even, the look tidy and the swing smooth on ground that would defeat a plain flat gate. For a hillside entrance, it is often the best answer.